How to Use a Hair Color Chart to Find Your Perfect Shade
Hair Colour, At-Home Dyeing, Hair Color Chart, Beauty Tips
Master the hair color chart to find your perfect shade! Learn how to read levels, tones, and choose the right developer for flawless at-home hair dyeing.
Welcome to HairColourChart.online! If you have ever stared at a wall of box dyes in the chemist, picked a gorgeous picture on the front, and ended up with a completely different result, you are not alone. The secret to getting salon-worthy results at home isn't luck; it is knowing how to read a Hair Color Chart.
When you understand the numbers and letters behind your favourite brands, you take the guesswork out of choosing a shade. Let's break down exactly how to decode these charts, select the right developer, and achieve your dream colour safely from the comfort of your own bathroom.
Understanding the Hair Colour Chart System
A hair colour chart is a universal language used by professionals and home-dye brands alike. It is divided into two main components: Level (how light or dark the hair is) and Tone (the underlying warmth or coolness). As noted by Hair Colour Chart: Understanding Hair Tones and Levels - Rumbie, learning this numbering system eliminates the guesswork and helps you plan exactly how much lift or deposit your hair needs.
1. Hair Colour Levels (The First Number)
The level system typically runs from 1 to 10:
- Level 1: Jet Black
- Level 2-4: Dark to Medium Brown
- Level 5: Light Brown
- Level 6: Dark Blonde
- Level 7: Medium Blonde
- Level 8: Light Blonde
- Level 9: Very Light Blonde
- Level 10: Platinum Blonde
2. Hair Tones (The Second Number or Letter)
After the decimal point (or slash), you will find the tone. European charts often use numbers (e.g., .1 for Ash, .3 for Gold, .4 for Copper), while American charts might use letters (e.g., A for Ash, G for Gold). According to Hair Dye Color Charts: Read, Match & Pick Your Perfect Shade, matching these tones to your skin's undertone is the real secret to a flattering result. Cool skin suits ash and violet tones, while warm skin glows with gold and copper.
What You'll Need Before You Start
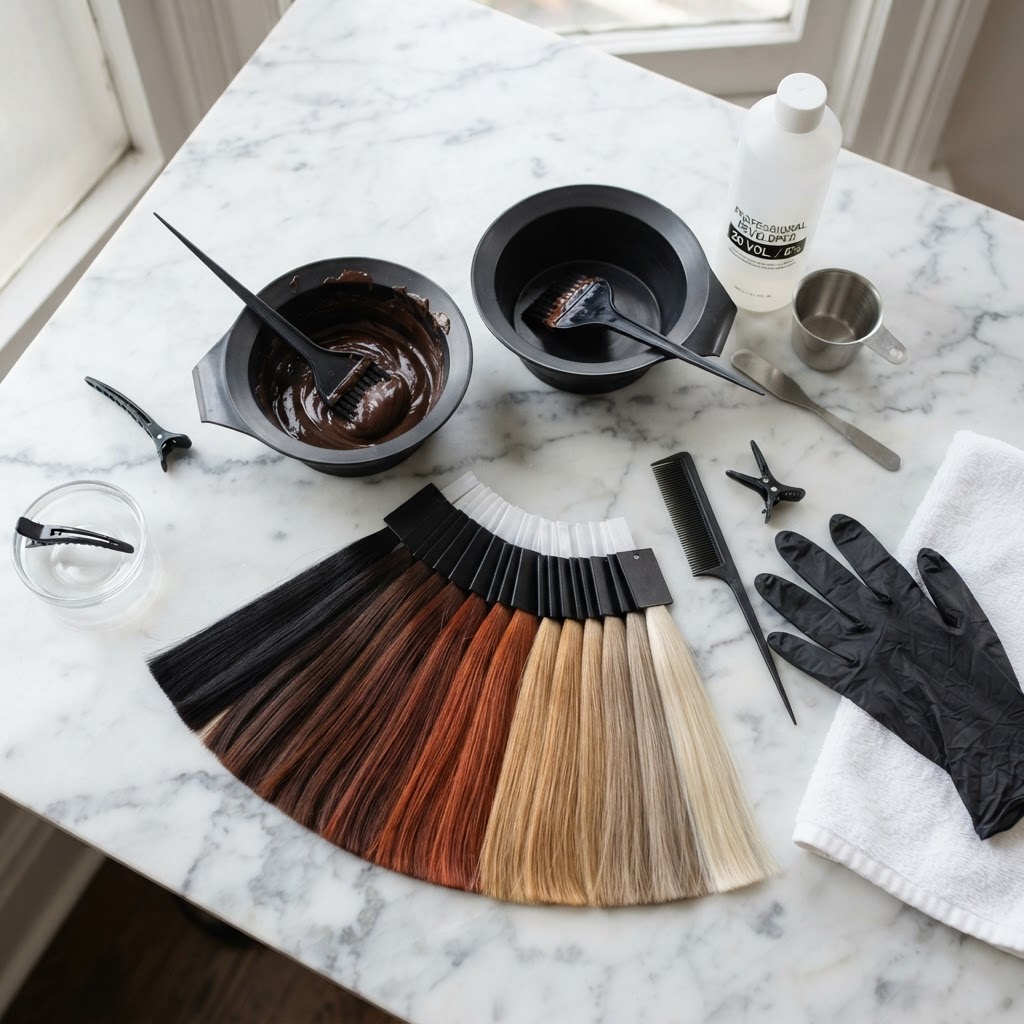
Before you mix a single drop of dye, ensure you have the right tools. A proper setup prevents patchy results and protects your skin and surfaces.
- A non-metallic mixing bowl and tint brush: Essential for even application.
- Sectioning clips: To divide your hair into four manageable quadrants.
- Barrier cream: Apply petroleum jelly around your hairline and ears to prevent staining.
- Gloves: High-quality nitrile gloves to protect your hands.
- Your chosen hair colour and developer: Matched perfectly using your shade selector.
- An old towel or cape: To protect your clothing.
Step-by-Step: Choosing a Shade with a Shade Selector
Finding your perfect match requires a methodical approach. Follow these steps to ensure you get it right:
- Determine your natural level: Isolate a section of hair from the crown of your head and hold it up to the light, as recommended by How to find your best hair color using the hair color chart. Compare it to the natural swatches on the chart.
- Identify your grey percentage: If you have more than 50% grey hair, you will need a shade specifically formulated for grey coverage (often denoted with a .00 or NN).
- Pick your target level: As a rule of thumb for at-home dyeing, do not try to lift (lighten) your hair more than two levels. If you are a Level 5 (Light Brown), aim no higher than a Level 7 (Medium Blonde) without professional bleach.
- Select your tone: Choose a tone that neutralises unwanted pigments. If your hair naturally pulls red/orange when lightened, choose an Ash (.1) or Matte (.2) tone to counteract the brassiness.
Developer Volumes and Timings
The developer (hydrogen peroxide) is what activates the dye and lifts your natural cuticle. Choosing the right strength is just as important as the dye itself. Hair Color Levels 1-10 Chart For Colorists | Duomo Pro highlights that developer choice is crucial, especially when dealing with resistant grey hair.
- 10 Volume (3%): Best for depositing colour only, going darker, or toning. Processing time: 20-30 minutes.
- 20 Volume (6%): The standard for at-home dyeing. It provides 1-2 levels of lift and is the absolute best choice for 100% grey coverage. Processing time: 30-45 minutes.
- 30 Volume (9%): Provides 2-3 levels of lift. Use with caution at home, as it can cause damage if left on too long. Processing time: 35-45 minutes.
- 40 Volume (12%): Provides maximum lift (3-4 levels) but is highly damaging. Best left to salon professionals.
Safety Steps and Preparation
Never skip the safety protocols. Hair dye contains active chemicals that can cause severe allergic reactions or hair breakage if misused.
- The Patch Test: Always mix a tiny amount of dye and developer and apply it behind your ear or on your inner elbow 48 hours before full application. If you experience redness, itching, or swelling, do not use the product.
- The Strand Test: Apply the mixture to a small, hidden section of hair (like the nape of your neck). This allows you to check the final colour result and ensure your hair is healthy enough to withstand the process.
Aftercare for Your New Colour
Once you have achieved your perfect shade, you need to protect it. Colour-treated hair requires extra TLC to prevent fading and maintain its structural integrity.
- Wait 72 hours before washing: This gives the hair cuticle time to fully close and lock in the colour molecules.
- Use sulphate-free shampoo: Sulphates strip colour rapidly. Opt for gentle, colour-safe formulas.
- Incorporate a toning shampoo: If you went blonde, use a purple shampoo once a week to neutralise yellow tones. Brunettes can use blue shampoo to banish orange brassiness.
- Deep condition weekly: Chemical processes deplete moisture. Use a hydrating mask containing ingredients like argan oil or keratin to restore elasticity.
Common Mistakes to Avoid
Even with a hair colour chart in hand, it is easy to make a misstep. Watch out for these common at-home dyeing errors:
- Ignoring underlying pigment: When you lighten hair, it exposes warm undertones (red, orange, or yellow). If you don't choose a cool-toned dye to neutralise this, you will end up brassy.
- Applying to the roots first: The heat from your scalp makes colour process faster (known as "hot roots"). Apply dye to your mid-lengths and ends first, then tackle the roots in the last 15-20 minutes.
- Overlapping bleach or permanent dye: Only apply permanent colour to virgin hair or new regrowth. Pulling permanent dye through previously coloured ends causes severe damage and overly dark, muddy results. Use a semi-permanent gloss on the ends instead.
FAQ
Can I mix different hair dye shades together?
Yes, you can mix shades to create a custom colour, but you must stick to the same brand and product line. For example, mixing a Level 6 Natural with a Level 6 Ash will give you a beautifully balanced, slightly cool dark blonde. Never mix different brands, as their chemical formulations may react poorly.
What is the best developer for stubborn grey hair?
For resistant grey hair, 20 Volume (6%) developer is the gold standard. It provides just enough lift to open the stubborn, coarse cuticle of grey hair, allowing the colour to deposit deeply and permanently.
Why does my hair look darker than the chart?
Hair porosity plays a massive role in how colour is absorbed. If your hair is damaged or highly porous (from heat styling or previous bleaching), it will soak up dye like a sponge, resulting in a darker shade than intended. If you have porous hair, consider choosing a shade one level lighter than your target colour.