How to Read a Hair Color Wheel and Pick Complementary Shades
hair color wheel, colour theory, toning, complementary colors, DIY hair dye
Learn how to read a hair color wheel and pick complementary shades. Master basic colour theory and toning to achieve flawless, salon-quality hair at home.
If you have ever attempted a DIY bleach job only to be met with glaringly brassy orange roots, or tried to dye over faded green hair and ended up with a swampy brown mess, you are not alone. The secret to avoiding these at-home hair disasters isn't just luck; it is science. Specifically, understanding how to read a hair color wheel and pick complementary shades is the ultimate game-changer for any home colourist.
Welcome back to HairColourChart.online! Today, we are diving deep into the world of salon secrets. By mastering basic colour theory, you can confidently neutralise unwanted brassiness, formulate the perfect toner, and transition between vivid fashion colours without damaging your hair's integrity.
Understanding Basic Colour Theory for Hair
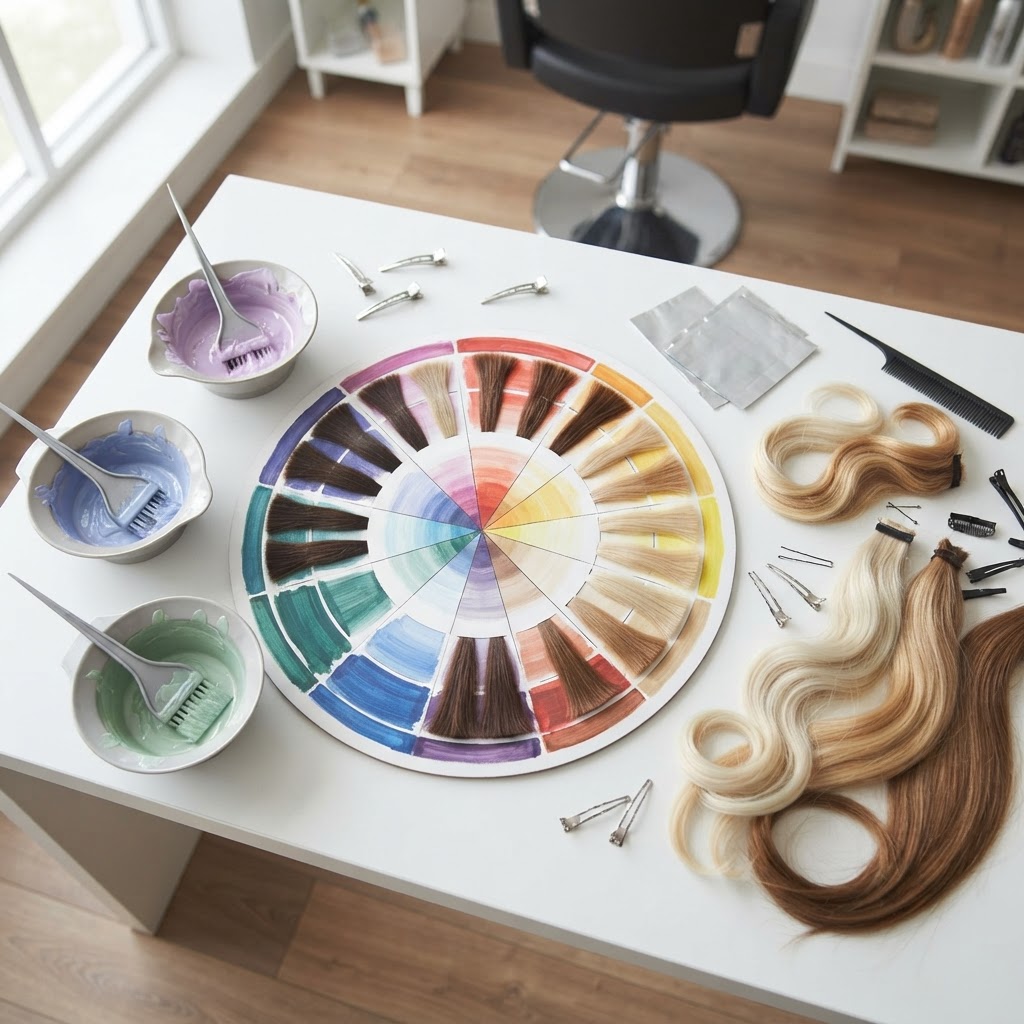
Before you mix any chemicals, you need to understand the canvas you are working on. Hair dyeing is essentially a balancing act of pigments. The hair color wheel is a visual representation of colours arranged in a circular format, showing the relationship between warm and cool tones, as explained by The Hair Color Wheel Explained - The Secrets of Color Neutralization & Tone Correction.
- Primary Colours: Red, yellow, and blue. These cannot be created by mixing other colours.
- Secondary Colours: Orange, green, and violet. These are created by mixing equal parts of two primary colours.
- Warm Tones: Reds, oranges, and yellows. These reflect light and make hair look brighter and sometimes brassier.
- Cool Tones: Blues, greens, and violets. These absorb light, making hair look darker, ashier, and more matte.
When you bleach your hair, you expose its natural underlying pigments (the undertone). Dark hair lifts to red, medium brown lifts to orange, and blonde lifts to pale yellow.
How to Read a Hair Color Wheel
The golden rule of the colour wheel is simple: colours that sit directly opposite each other on the wheel are complementary colors.
In the world of hair dye, opposite colours cancel each other out. When you mix two complementary colours, they neutralise, creating a flat, neutral brown, grey, or white (depending on the lightness of the hair). According to Hair Color Wheel Theory Explained, knowing these complementary pairings is essential whether you want to return to a natural shade or avoid a muddy result when layering colours.
The Holy Trinity of Toning
To pick complementary shades for toning, memorise these three pairings:
- Purple cancels Yellow: If your bleached hair looks like the inside of a banana (Level 9 or 10), you need a violet/purple toner.
- Blue cancels Orange: If your lightened hair looks like a rusty penny or a traffic cone (Level 5 to 7), you need a blue-based toner or ash dye. How the Color Wheel Can Help You When Dyeing Your Hair confirms that blue products will fix unwanted orange hues.
- Green cancels Red: If you have dark hair that has pulled a harsh, unnatural red (Level 4 and below), a green-based ash toner will neutralise it back to a cool, rich brunette.
What You'll Need for At-Home Toning
Ready to put colour theory into practice? Here is a practical checklist of what you will need to neutralise unwanted tones safely at home:
- The Right Toner or Demi-Permanent Dye: Choose a shade with the correct base pigment (ash/blue, violet, or matte/green) corresponding to your unwanted undertone.
- Low-Volume Developer: For toning, you only want to deposit colour, not lift. Always use a 5-volume or 10-volume developer. Using a 20-volume developer will lift your natural base and expose more warmth, defeating the purpose of toning!
- Application Tools: A non-metallic mixing bowl, a tint brush, and sectioning clips.
- Safety Gear: Gloves and an old t-shirt.
- Kitchen Scales: To measure your dye-to-developer ratio accurately (usually 1:2 for toners, but always read the manufacturer's instructions).
Step-by-Step: How to Neutralise Unwanted Tones
Follow these steps to achieve a flawless, salon-worthy finish:
- Assess Your Canvas: Look at your dry, unwashed hair in natural daylight. Identify the dominant unwanted tone (yellow, orange, or red) and determine your hair's level (1-10).
- Select Your Complementary Shade: Consult your hair color wheel. If you are a Level 8 brassy yellow-orange, you will need a blue-violet toner.
- Perform a Strand Test: Mix a tiny amount of your chosen toner and developer. Apply it to a hidden section of hair and wait 10-15 minutes. Rinse and dry to ensure it doesn't turn your hair grey or purple.
- Mix Your Formula: Once the strand test is successful, mix your toner and 10-volume developer in your tint bowl until smooth.
- Apply Quickly and Evenly: Apply the toner to damp, towel-dried hair. Start at the roots (which are usually the warmest) and work your way down to the ends.
- Watch the Clock: Toners process quickly. Check your hair every 5 minutes. Most toners take between 10 and 20 minutes. Do not leave it on longer than recommended, or your hair may absorb the actual blue or purple pigment!
- Rinse and Condition: Rinse thoroughly with lukewarm water until the water runs clear. Follow up with a deep, hydrating conditioner to seal the cuticle.
Common Mistakes to Avoid
Even with the best intentions, DIY dyeing can go awry. Avoid these classic pitfalls:
- Using the Wrong Developer: As mentioned, using 20-volume or 30-volume developer with a toner will cause "hot roots" by lifting your natural hair and exposing more underlying warmth.
- Toning Too Dark: Ash and cool tones absorb light, making them appear up to one level darker than warm tones. If you want a Level 8 blonde, you might want to formulate with a Level 9 ash to prevent the hair from looking too dark.
- Creating "Muddy" Hair: If you apply a cool blue dye over faded yellow-blonde hair without filling it first, you will accidentally create green (Blue + Yellow = Green). Always consult the colour wheel before layering fashion colours!
Aftercare for Colour-Treated Hair
Once you have achieved your perfect, neutralised shade, you need to protect it. Toners are typically demi-permanent and will fade over 4 to 6 weeks.
- Wash Less Frequently: Try to wash your hair only 2-3 times a week to prolong the life of your toner.
- Use Sulphate-Free Shampoo: Harsh sulphates strip colour molecules from the hair shaft.
- Maintain with Pigmented Shampoos: Use a purple shampoo for blondes or a blue shampoo for brunettes once a week to keep brassiness at bay between full toning sessions.
- Rinse with Cool Water: Hot water opens the hair cuticle, allowing colour to escape. A cool rinse seals the cuticle, locking in your complementary shades and adding brilliant shine.
FAQ
Why did my purple shampoo turn my hair lilac?
Purple shampoo is highly pigmented. If your hair is very porous (often the case with heavily bleached, Level 10 platinum hair), it will absorb the purple pigment rather than just neutralising the yellow. To fix this, wash your hair with a clarifying shampoo to gently fade the lilac tint, and next time, dilute your purple shampoo with regular conditioner.
Can I use a permanent dye to tone my hair?
It is highly discouraged. Permanent dye requires a higher volume developer (20-vol or above) which alters the natural melanin in your hair. Toning should always be done with demi-permanent or semi-permanent glosses and a low-volume developer (5 to 10-vol) to simply deposit colour over the cuticle without causing unnecessary damage.
How do I transition from green hair to purple hair?
Consult the colour wheel! Green and purple are not complementary, but they share a common primary colour (blue). However, if you put purple directly over faded green, it can look muddy. You must first neutralise the green by using a very diluted red/pink semi-permanent dye (red cancels green). Once you have a neutral base, you can safely apply your vibrant purple dye.