
Hair Bleaching for Beginners: Safety, Timing, and Common Mistakes
Hair Bleaching, At-Home Hair Colour, Hair Care, Beginner Guide, Developer
Discover the ultimate guide to hair bleaching for beginners. Learn how to safely bleach at home, choose the right developer, and avoid common mistakes.
Welcome to HairColourChart.online! If you are considering hair bleaching for beginners, you have come to the right place. Taking the plunge and lightening hair at home can feel incredibly daunting, but with the right preparation, knowledge, and a healthy dose of patience, you can achieve beautiful, salon-worthy results safely.
In this comprehensive guide, we will walk you through everything you need to know to bleach at home, from choosing the correct developer to mastering your application timings.
Understanding the Basics of Lightening Hair
Before you mix any chemicals, it is crucial to understand what happens when you bleach your hair. Hair bleach works by penetrating the hair shaft and breaking down the natural melanin (pigment) that gives your hair its colour, as explained in What to Know About Hair Bleach. Darker hair contains more eumelanin, which means it will go through several stages of warmth—red, orange, and yellow—before reaching a pale blonde.
To activate the bleach powder, you need a developer (hydrogen peroxide). Developers come in different strengths, known as "volumes". For beginners, experts strongly recommend sticking to a 20-volume (6%) developer. As noted in How to Bleach Hair at Home without Damage, a 20-volume developer provides a slow, controlled lift, which significantly reduces the risk of severe damage and gives you more time to apply the product evenly.
What You'll Need
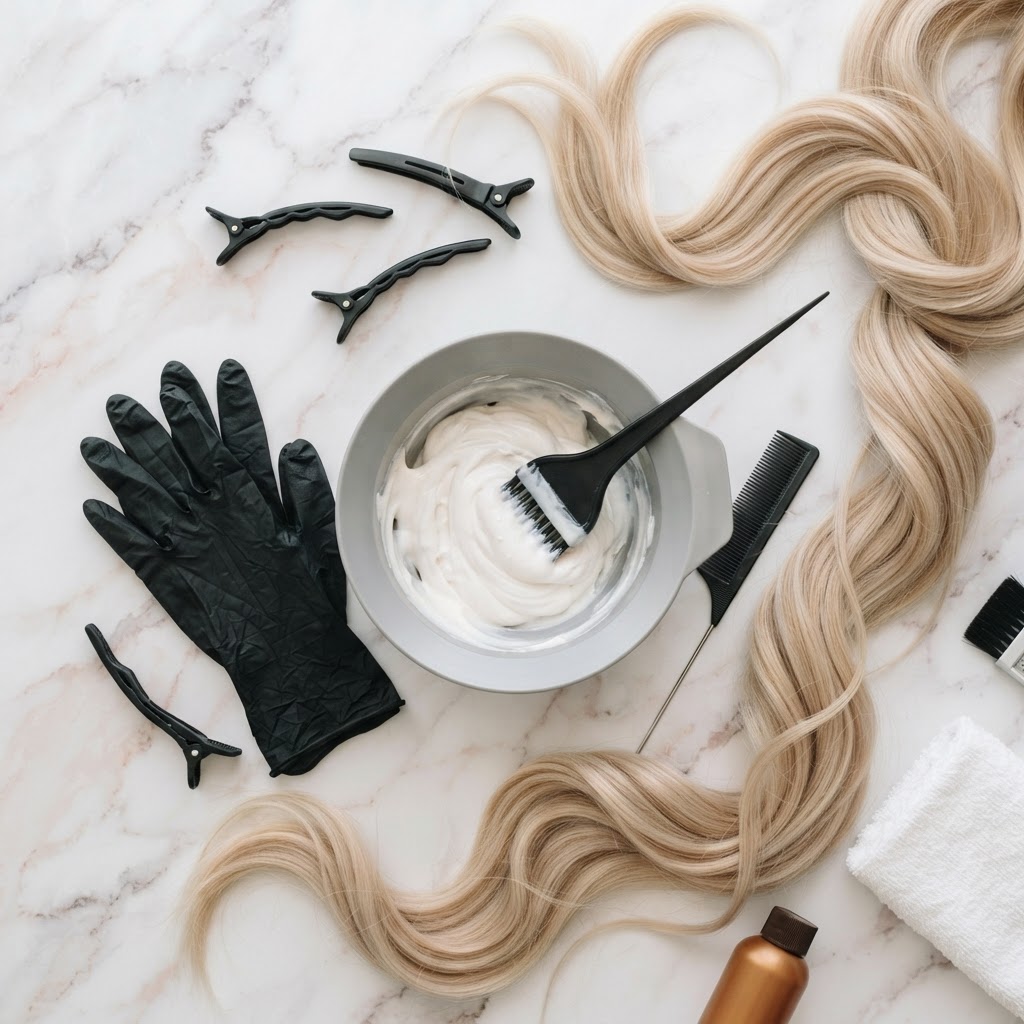
Preparation is the secret to a successful bleaching session. Gather all your tools before you begin so you aren't scrambling mid-process. You will need:
- High-quality bleach powder
- 20-volume developer (Do not be tempted by 30 or 40-volume for your first time!)
- A non-metallic mixing bowl (Metal can react dangerously with bleach)
- A tinting brush for precise application
- Plastic sectioning clips
- Latex or nitrile gloves to protect your hands
- An old t-shirt and a towel you don't mind ruining
- A timer (Your phone works perfectly)
Essential Safety Steps Before You Start
Safety should always be your top priority when handling chemical lighteners.
1. The Unwashed Hair Rule
Do not wash your hair for at least 48 to 72 hours before bleaching. Your scalp's natural oils (sebum) act as a protective barrier against the harsh chemicals, helping to prevent scalp irritation and chemical burns.
2. The Strand and Patch Test
Never skip this step! According to Avoiding Common Mistakes Stylists Make With Hair Bleaching, performing a strand test allows you to see exactly how your hair will react to the bleach and how long it will take to lift. Apply a small amount of the mixture to a hidden strand of hair at the nape of your neck. Simultaneously, dab a tiny amount behind your ear to test for allergic reactions.
Step-by-Step Guide to Bleaching at Home
Once you have completed your safety checks, it is time to begin the lightening process. Work in a well-ventilated room and follow these steps carefully.
Step 1: Section Your Hair
Divide your dry, unwashed hair into four neat quadrants: part it down the middle from forehead to nape, and then from ear to ear. Secure each section with a plastic clip. Sectioning is non-negotiable; it ensures an even application and prevents patchy results.
Step 2: Mix Your Lightener
Put on your gloves. In your non-metallic bowl, mix the bleach powder and developer according to the manufacturer's instructions (usually a 1:2 ratio of powder to developer). Mix until it forms a smooth, creamy consistency similar to thick yoghurt.
Step 3: Apply to Mid-Lengths and Ends First
This is a crucial technique. The heat from your scalp causes bleach to process much faster at the roots, which can lead to "hot roots" (where the roots are significantly lighter and warmer than the rest of the hair). As advised in Bleaching Hair at Home: A Step-By-Step, Damage-Free Guide - L'Oréal Paris, apply the bleach to the mid-lengths and ends of your hair first, staying about an inch away from your scalp.
Step 4: Apply to the Roots
After the mid-lengths have been processing for about 15 to 20 minutes and have started to lighten, go back and carefully apply the bleach to your roots.
Step 5: Timing and Rinsing
Set your timer. Most bleach formulas should not be left on the hair for more than 30 to 45 minutes in total. Keep a close eye on the hair, checking it every 10 minutes. Once you have reached a pale yellow colour (like the inside of a banana), rinse the hair thoroughly with lukewarm water. Shampoo gently to ensure all chemical residue is removed.
Aftercare and Toning
Freshly bleached hair is highly porous and fragile. It will also likely have some unwanted warm, brassy tones.
- Toning: To neutralise yellow or orange hues, you will need a toner or a high-quality purple shampoo. Purple sits opposite yellow on the colour wheel, effectively cancelling out brassiness for a cooler, ashier blonde.
- Moisture: Bleaching strips the hair of its natural moisture. Follow up your treatment with a deep conditioning mask or a bond-building treatment (like Olaplex or products containing ceramides) to help restore the hair's structural integrity.
Common Mistakes to Avoid
Even with the best intentions, things can go wrong. Here are the most common pitfalls to avoid:
- Overlapping Bleach: If you are touching up your roots, only apply bleach to the new growth. Applying bleach over previously lightened hair is a fast track to severe breakage and "chemical haircuts."
- Using Too High a Developer: Rushing the process with a 30 or 40-volume developer will blast the hair cuticle open too aggressively, leading to dry, gummy, or snapping hair.
- Ignoring Hair Health: If your hair is already severely damaged, brittle, or heavily processed with dark box dye, do not attempt to bleach it at home. Seek professional help.
FAQ
How often can I bleach my hair?
If you need multiple sessions to reach your desired lightness, you must give your hair time to recover. According to How to Bleach Hair at Home in 7 Simple Steps, you should wait at least six to eight weeks between full bleaching sessions, or a minimum of three weeks for minor touch-ups.
Can I bleach wet hair?
No. Bleach should always be applied to dry hair. Water dilutes the developer, making the bleach less effective and potentially leading to uneven, patchy results.
Why did my hair turn orange?
Hair turns orange during the bleaching process because the dark pigments (eumelanin) have been lifted, exposing the underlying warm pigments (pheomelanin). If your hair is orange, it means it hasn't lightened enough yet. You will either need to tone it with a blue-based toner (to neutralise orange) or wait a few weeks and do another gentle bleach bath to lift it to yellow.