
Hair Bleaching for Beginners: Safety, Timing and Common Mistakes
hair bleaching, bleach at home, hair developer, hair lightening, hair care, DIY hair colour
Master hair bleaching for beginners with our expert guide. Learn how to safely bleach at home, choose the right developer, and avoid common mistakes.
Welcome to HairColourChart.online! If you are considering hair bleaching for beginners, the process can feel a little daunting. Taking your hair from dark to light involves strong chemicals, and doing it yourself requires patience, preparation, and the right knowledge. However, lightening hair safely in your own bathroom is entirely possible if you follow professional guidelines. In this comprehensive guide, we will walk you through everything you need to know to bleach at home safely, from choosing the correct developer to mastering your application timings.
What You'll Need to Bleach at Home
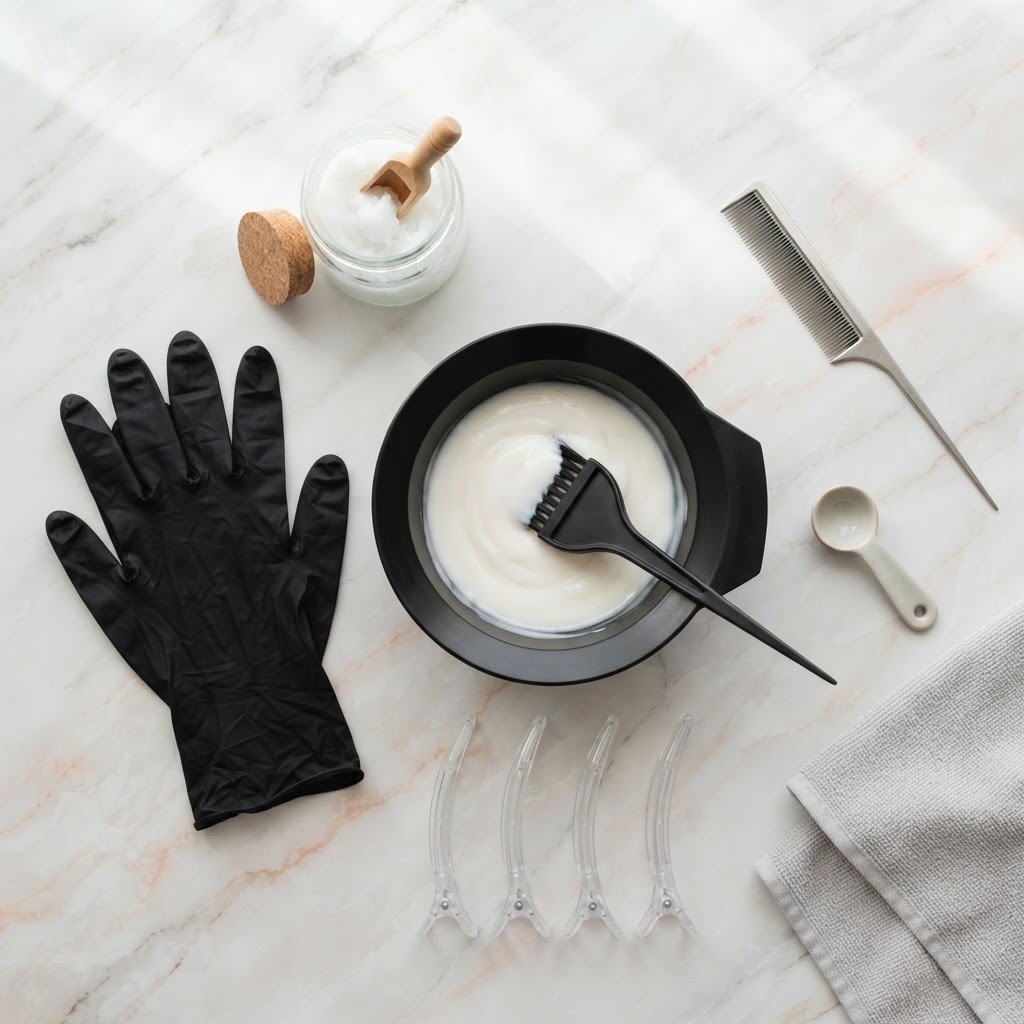
Before you even think about mixing chemicals, you need to gather the right tools. Being prepared prevents mid-process panic and ensures an even, beautiful lift. According to How to Bleach Hair at Home in 7 Simple Steps, you will need the following essentials:
- Bleach powder: Opt for a dust-free formula, which is gentler and mixes more smoothly.
- Developer: The liquid activator that you mix with the bleach powder.
- Non-metallic mixing bowl and tint brush: Metal can react dangerously with bleach.
- Sectioning clips: To divide your hair cleanly.
- Gloves and a protective cape (or old t-shirt): To protect your skin and clothes.
- Plastic shower cap: To trap heat and keep the bleach from drying out.
Understanding Developer Volumes
Choosing the right developer is the most critical decision you will make. The developer dictates how much the hair cuticle opens and how quickly the natural pigment is lifted.
- 10 Volume: Very gentle, ideal for slight shifts or very fine, fragile hair.
- 20 Volume: The gold standard for home use. As noted in How to Bleach Hair at Home without Damage, a 20-volume developer gives you more time to work, better results, and significantly less risk of over-processing. Slow and steady wins the race.
- 30 Volume: Lifts 3–4 levels quickly but is noticeably more aggressive. Only use this on healthy, virgin hair with extreme caution.
- 40 Volume: Avoid this entirely. It is far too strong for a DIY situation and can cause severe chemical burns and hair breakage.
Preparation and Safety Steps
Preparation is the secret to damage-free lightening. Never rush this phase.
- Do a Patch and Strand Test: As highlighted in Trying to lighten hair at home? Hairdressing expert Samantha Kochhar warns of the 9 common mistakes that people make, skipping the strand test is like flying blind. It tells you exactly how your hair will react and how long the process will take.
- Don't Wash Your Hair: Avoid washing your hair for at least 24 to 48 hours before bleaching. The natural oils on your scalp act as a protective barrier against chemical irritation, a tip supported by Why Bleaching Damages Hair: Safe Tips for Lightening Without Damage.
- Hydrate with Coconut Oil: For extra protection, soak your hair in coconut oil the night before. It creates a protective barrier over the hair shafts without interfering with the bleach's lifting power, as recommended in Bleaching Hair at Home: A Step-By-Step, Damage-Free Guide.
Step-by-Step Guide to Lightening Hair
Once you are prepped and your strand test is successful, it is time to begin.
1. Section Your Hair
Divide your hair into four neat quadrants (down the middle, and from ear to ear). Secure each section with plastic clips. This makes the application manageable and ensures you don't miss any spots.
2. Mix the Bleach
Following the manufacturer's instructions, mix your bleach powder and developer in your non-metallic bowl until it forms a smooth, pudding-like consistency.
3. Apply to Mid-Lengths and Ends First
Start at the back of your head where the hair is thickest. Apply the bleach to the mid-lengths and ends, staying about an inch away from your scalp. Why? Because the heat from your head causes the roots to process much faster. Applying bleach to the roots too early results in "hot roots" (bright, glowing roots with darker ends).
4. Apply to the Roots
After the mid-lengths have been processing for about 15-20 minutes and have started to lighten, go back and carefully apply the bleach to your roots.
5. Timing and Checking
Cover your hair with a plastic cap. According to What to Know About Hair Bleach, you should let the mixture sit for 15 to 30 minutes, depending on your hair type and desired colour. Check the hair every 5 minutes by wiping a tiny bit of bleach off a strand to see the true lifted colour.
6. Rinse and Tone
Rinse thoroughly with lukewarm water. Bleached hair will almost always reveal warm, brassy undertones (red, orange, or yellow). You will need to follow up with a toner or a purple shampoo to neutralise these unwanted hues.
Common Mistakes to Avoid
Even with the best intentions, DIY bleaching can go wrong if you fall into these common traps:
- Overlapping on previously bleached hair: Only apply bleach to virgin hair or new root growth. Applying bleach over already lightened hair is a fast track to severe breakage.
- Rushing the process: Trying to go from dark brown to platinum blonde in one day is a recipe for disaster. Dark hair needs multiple, gentle sessions spaced weeks apart.
- Failing to prepare the hair: As noted in Avoiding Common Mistakes Stylists Make With Hair Bleaching, failing to prepare the hair by skipping deep conditioning treatments in the weeks leading up to the bleach can leave hair brittle and burned.
Aftercare for Bleached Hair
Bleaching permanently alters your hair's structure by opening the cuticle. Post-bleach care is non-negotiable if you want to keep your hair on your head!
- Wash less frequently: Limit washing to 2-3 times a week to preserve natural moisture.
- Use sulphate-free products: Harsh detergents will strip your fragile hair.
- Deep condition religiously: Use masks containing ceramides or bond-building ingredients (like bis-aminopropyl diglycol dimaleate) to restore strength.
- Always use heat protection: Bleached hair is highly susceptible to heat damage from styling tools.
FAQ
Can I bleach wet hair?
It is generally recommended to apply bleach to dry, unwashed hair. Water can dilute the developer, making the bleach less effective and potentially leading to an uneven, patchy lift.
How long should I wait between bleaching sessions?
If you need to lighten your hair further, patience is key. You should wait at least three to six weeks between bleaching sessions to give your hair time to recover its moisture and elasticity.
What lightens hair quickly?
While 30 or 40 volume developers work faster, "faster" in the bleaching world usually means "more damage." For safe at-home use, a 20-volume developer is the fastest you should go. If you are in a rush to go platinum, visiting a professional colourist is your safest bet.
Sources
- How to Bleach Hair at Home in 7 Simple Steps
- How to Bleach Hair at Home without Damage
- Trying to lighten hair at home? Hairdressing expert Samantha Kochhar warns of the 9 common mistakes that people make
- Why Bleaching Damages Hair: Safe Tips for Lightening Without Damage
- Bleaching Hair at Home: A Step-By-Step, Damage-Free Guide
- What to Know About Hair Bleach
- Avoiding Common Mistakes Stylists Make With Hair Bleaching