
Dos and don'ts of dyeing your hair at home: The Ultimate Guide
hair dye tips, home hair dye, patch test, hair colour guide, DIY beauty
Master the dos and don'ts of dyeing your hair at home with our expert guide. Discover essential hair dye tips, patch test rules, and step-by-step advice.
Welcome to HairColourChart.online! Whether you are looking to cover up a few greys, refresh your current shade, or try a completely new look, mastering the dos and don'ts of dyeing your hair at home is essential for achieving salon-worthy results. While DIY colouring can save you time and money, it requires preparation, patience, and a good understanding of the process to avoid common pitfalls. In this comprehensive guide, we will walk you through the best hair dye tips, the crucial safety steps, and everything you need to know to colour your hair safely and beautifully from the comfort of your own bathroom.
What you'll need for home hair dye success
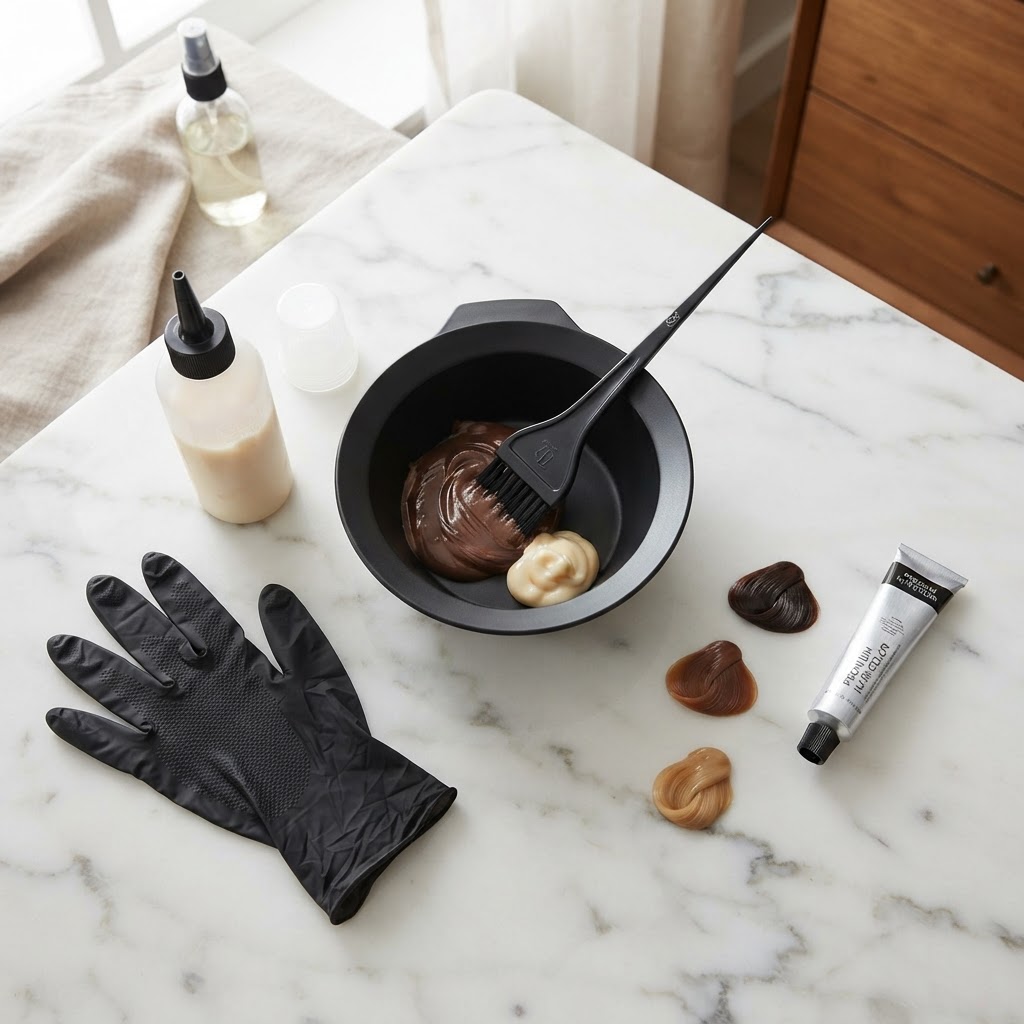
Before you even open a box of colour, gathering the right tools is vital. Being prepared means you won't be scrambling for supplies while the clock is ticking on your colour development.
- The right applicator: Depending on your skill level and the look you want, choose your tools wisely. An applicator bottle is best for all-over colour, precise root touch-ups, and beginner-friendly application. Alternatively, a bowl and brush offer more control for highlighting, balayage, or precise application, though this is often preferred by professionals and requires a bit more skill, as noted in How to Dye Your Hair at Home A step-by-step guide Sally Beauty.
- Protective gear: Always wear the gloves provided in your kit (or buy a sturdy reusable pair) to protect your hands from staining and chemicals.
- Barrier cream: Apply a layer of petroleum jelly or a thick moisturiser around your hairline, ears, and neck to prevent the dye from staining your skin.
- Old clothing: Wear an old button-down shirt or a dedicated hairdressing cape. A button-down is crucial so you don't have to pull a tight collar over your freshly dyed head when it's time to rinse.
The golden rule: Always do a patch test
If there is one non-negotiable rule in our dos and donts list, it is this: never skip the patch test. A patch test is a small but vital step to check for potential allergic reactions to hair dye ingredients, such as paraphenylenediamine (PPD), which can cause severe contact dermatitis, as highlighted in Hair Dye Patch Test: Safety & Best Practices.
Even if you have used the same brand and shade for years, you must test every single time, because skin can develop an allergy over time.
How to perform a patch test at home
- Mix a tiny amount: Mix a coin-sized amount of the colour formula and the developer in a small bowl.
- Apply to a sensitive area: Use a cotton bud to apply a small dot of the mixture behind your ear or in the crook of your elbow. Applying it behind the ear is often best as it avoids accidental washing off, according to Hair Dye Patch Test: How to Do an Allergy Test at Home.
- Wait 48 hours: Leave the mixture on for a full 48 hours. Do not wash it off during this time.
- Seal your bottles: It is very important to fasten the caps on the bottles tightly after you have opened them for the test. If you do not, the products may oxidise, and the active ingredients will not work when you go to dye your whole head, as advised in How to dye your own hair at home (and avoid a disaster) | Marie Claire UK.
- Monitor for reactions: If you experience any redness, itching, burning, swelling, or blistering, wash it off immediately and DO NOT use the product. If the 48 hours pass with no reaction, you are safe to proceed.
Step-by-step: How to apply your colour
Once you have passed your allergy test, it is time to get colouring. Follow these steps for a flawless application.
1. Do a strand test
Before committing to your whole head, a strand test is essential for understanding how the colour will develop on your specific hair, helping to prevent unexpected swamp-water results. Apply the mixed dye to a small, hidden section of hair (like the underside of your neck) and leave it for the recommended time to check the final shade.
2. Mix your dye and developer
If you are using a professional-style tube and developer rather than a pre-mixed box kit, you need to choose the right developer volume. As a general rule: use 10 volume for deposit-only (going darker), 20 volume for standard colouring and grey coverage, and 30 volume for maximum lift (lightening), as recommended by How to Dye Your Hair at Home A step-by-step guide Sally Beauty.
3. Section and apply
Divide your hair into four neat quadrants (down the middle, and from ear to ear). Start applying the colour at the roots, working your way through one section at a time. If you are just doing a root touch-up, only apply the dye to the new growth to avoid over-processing and damaging the rest of your hair.
4. Time it perfectly
Set a timer the moment you finish applying the dye to the last section. Do not guess the time, and do not leave it on longer than the manufacturer recommends in hopes of a 'better' colour—this will only lead to hair damage.
The ultimate dos and donts of DIY colour
To keep your hair looking healthy and vibrant, keep this quick checklist in mind:
- DO buy enough dye: If your hair is past your shoulders or very thick, buy two boxes. Running out of dye halfway through is a DIY nightmare.
- DON'T wash your hair right before: Hair dye takes best to hair that hasn't been washed for 24 to 48 hours. Your scalp's natural oils act as a protective barrier against the chemicals.
- DO use a toothbrush for subtle highlights: If you just want to add some natural-looking, sun-kissed highlights around your face, use a clean toothbrush or mascara wand to apply the lightener, as suggested by How to dye your own hair at home (and avoid a disaster) | Marie Claire UK.
- DON'T use natural lighteners on previously dyed hair: Products like sun-activated lightening sprays should only be used on virgin, uncoloured hair to avoid severe chemical damage and unpredictable colour changes, according to 22 Hair Dye Tips I Wish I Had Known The First Time I Colored My Hair.
Aftercare for coloured hair
Once you have rinsed out the dye (using lukewarm water until it runs clear), follow up with the deep conditioner provided in your kit. To maintain your new shade, switch to a sulphate-free shampoo and conditioner designed specifically for colour-treated hair. Wash your hair less frequently, and always use a heat protectant spray before using hot styling tools to prevent the colour from fading prematurely.
FAQ
Is 24 hours long enough for a hair dye patch test?
No. You must always leave your patch test for a full 48 hours to be safe. Allergic reactions are often delayed, and it can take up to two days for symptoms like hives or rashes to appear, as noted in Dos and don'ts of colouring your hair at home, as told by experts - ABC News.
Can I shower while doing a patch test?
Yes, you can shower, but you must be very careful not to wash the dye off the test area (which is why behind the ear is the best placement). If it washes off, the test is invalid.
What happens if I skip the strand test?
Skipping the strand test means you are guessing how the chemical will react with your current hair porosity and underlying pigments. You risk ending up with a colour that is too dark, too brassy, or completely different from the picture on the box.
How do I fix a home hair dye mistake?
If your colour turns out slightly too dark, washing it a few times with a clarifying shampoo can help fade it. However, if you have attempted to bleach your hair and it has turned orange or feels gummy, do not apply more chemicals. Book an appointment with a professional colour correction specialist immediately.
Sources
- How to Dye Your Hair at Home A step-by-step guide Sally Beauty
- Hair Dye Patch Test: Safety & Best Practices
- Hair Dye Patch Test: How to Do an Allergy Test at Home
- Dos and don'ts of colouring your hair at home, as told by experts - ABC News
- How to dye your own hair at home (and avoid a disaster) | Marie Claire UK
- 22 Hair Dye Tips I Wish I Had Known The First Time I Colored My Hair